Most store owners see a theme as “the design.” You pick colours, approve a mockup, and a few weeks later your store looks different. What happens in between is rarely explained, and that’s where budgets slip and deadlines drift.
Understanding Magento theme development, even at a basic level, helps you ask better questions, spot vague quotes, and avoid surprises. This guide walks through the whole process in plain language, from the first planning call to post-launch checks.
What Is a Magento Theme?
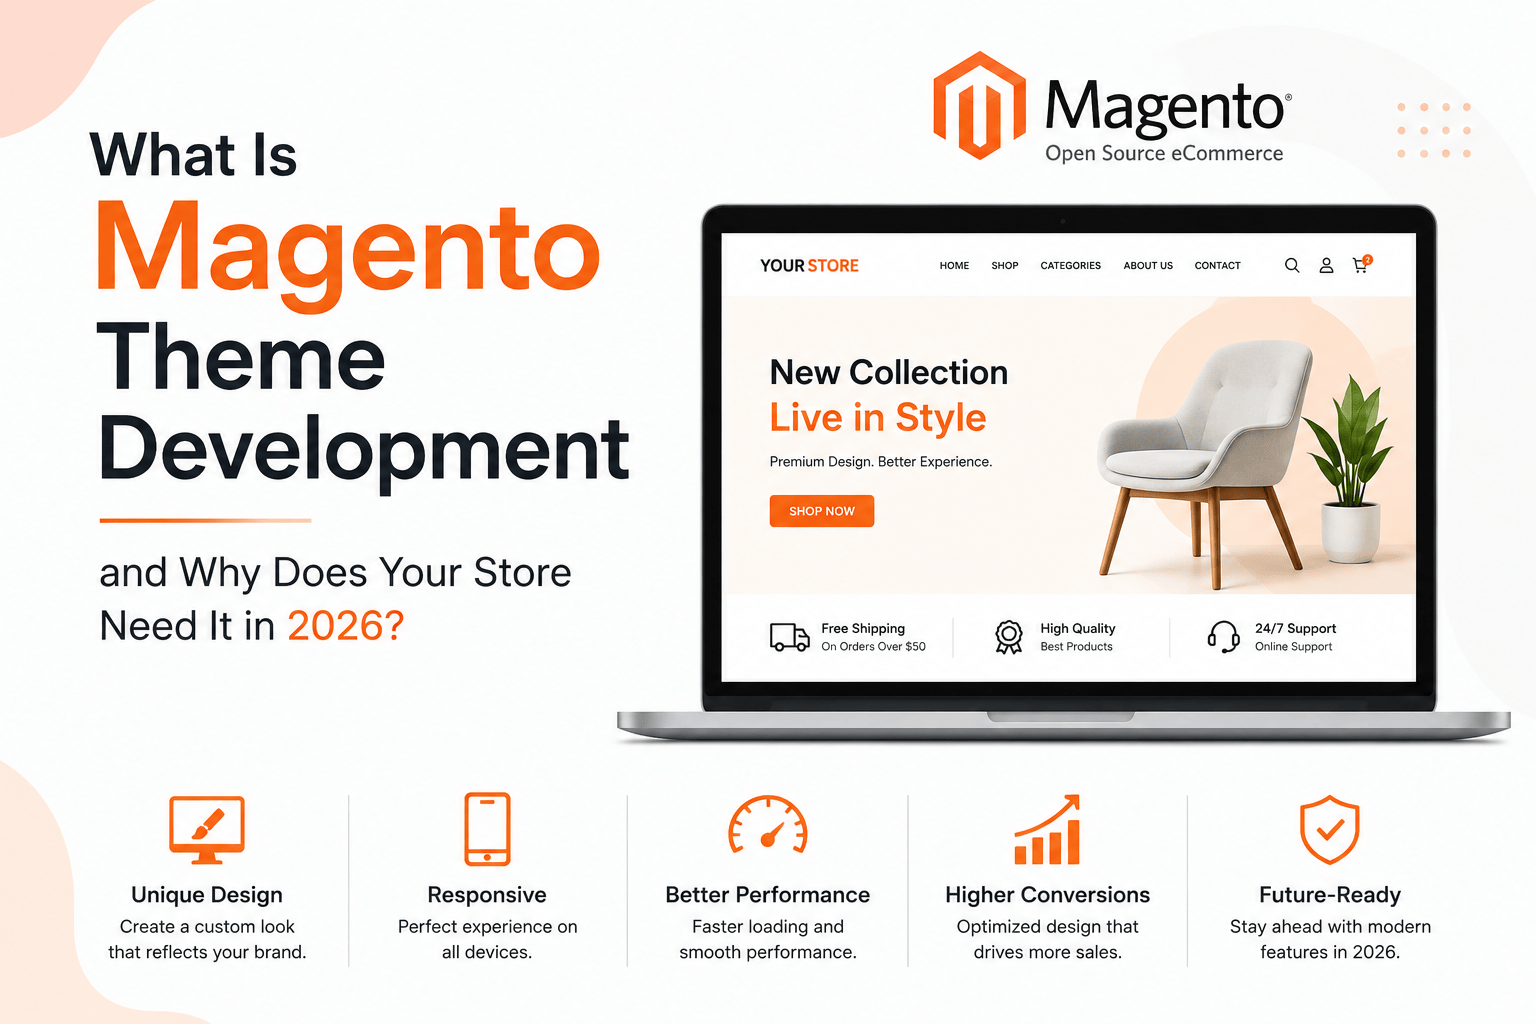
A Magento theme is a collection of files that controls how your storefront looks and behaves: layouts, templates, styles, images, fonts and scripts. It sits on top of Magento’s core and decides how product pages, category pages, the cart and the checkout appear to shoppers.
The word “theme” covers a lot. It might be a small style update or a complete custom front end. Knowing which one you need is the first step in any Magento theme development project.
Step 1: Discovery and Planning
Every good project starts with questions, not code. The team wants to know:
- Who your customers are and how they shop
- Which devices they use most
- What isn’t working in your current design
- Your Magento version and edition (Open Source or Adobe Commerce)
- Which extensions and integrations must keep working
- Your budget, timeline and launch date
This stage often decides whether the project runs smoothly. Skipping it is the most common reason a theme needs rework later.
Step 2: Choose the Theme Approach
Before design starts, you need to pick a starting point. The main options are:
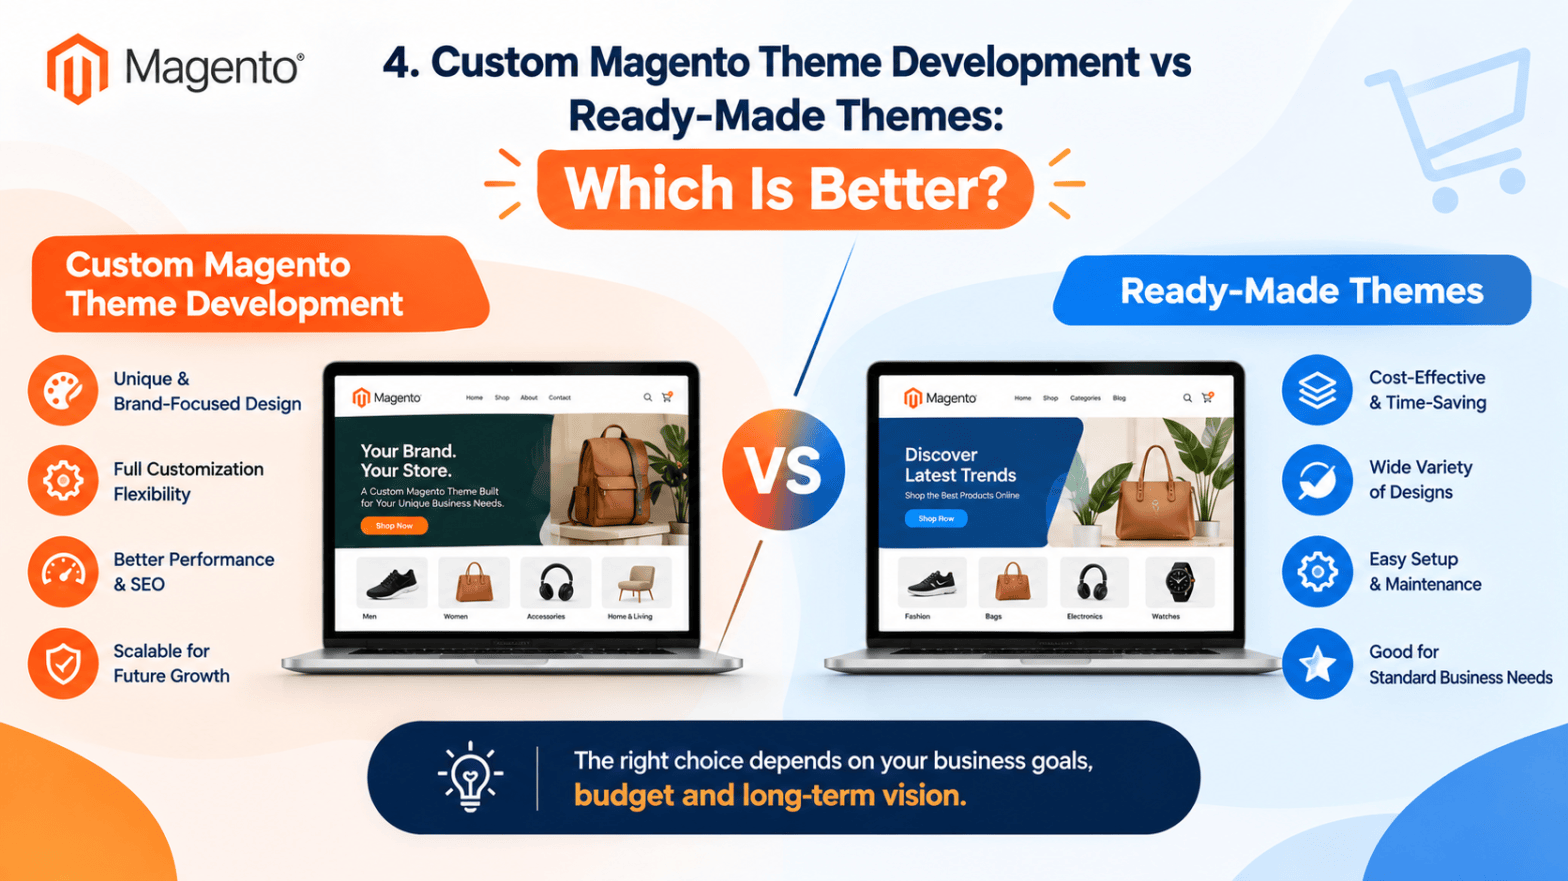
- A ready-made theme from a marketplace, customised to fit your brand. It’s quicker and cheaper, but you inherit its code and limits.
- A custom theme built specifically for your store. It costs more and takes longer, but fits your needs and brand exactly.
- A Luma-based approach, which uses Magento’s default front-end structure.
- A Hyvä-based theme, a popular lighter option built on Tailwind CSS and Alpine.js that many stores choose for speed.
- A headless or PWA front end, where the storefront is a separate application talking to Magento through APIs.
Each option affects speed, extension compatibility and long-term maintenance. Ask your developer to explain why they recommend one over the others for your store.
Step 3: UX Research and Design
Now the visual work begins. Designers map user journeys, sketch wireframes and create mockups for the key screens. A solid design covers more than the homepage:
- Category pages with filters and sorting
- Product pages with variants, images and reviews
- Mini-cart, cart and checkout
- Account, order history and wishlist pages
- Search results and error pages
- Mobile and tablet layouts
Designs are usually built in Figma, Sketch or Photoshop. Approve them properly, since changes after coding starts cost far more than changes at this stage.
Step 4: Set Up the Development Environment
Good developers never build on your live store. They work in a separate environment, usually a local setup plus a staging site that mirrors production. Code is tracked in version control such as Git, so every change is recorded and can be undone.
This step is invisible to most clients, but it’s one of the clearest signs of a professional team. If a developer suggests editing your live theme directly, be cautious.
Step 5: Create the Theme Structure
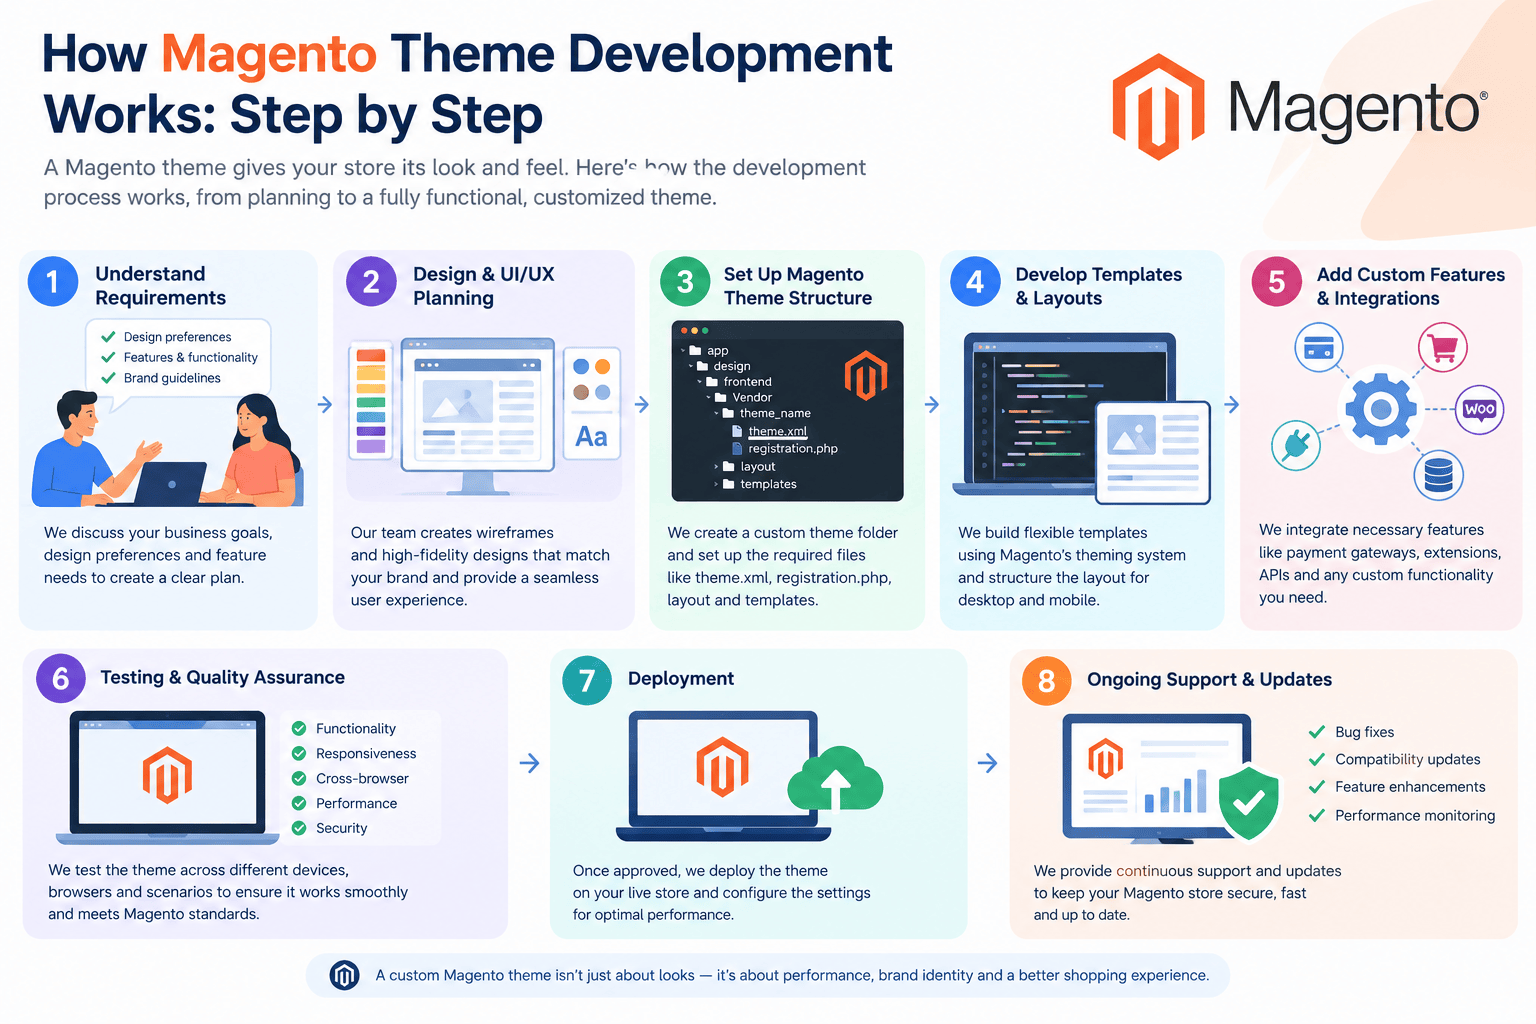
In Magento 2, a theme lives in its own folder under a vendor and theme name. It includes a few essential files:
- theme.xml declares the theme’s name and parent
- registration.php registers the theme with Magento
- composer.json describes the package for clean installation
- A preview image that appears in the admin panel
The theme also has folders for layout files, templates, styles, images and scripts. Most custom work should be a child theme, which inherits from a parent (like Luma or Hyvä) and overrides only what needs to change. That’s what keeps updates safe. Editing the parent theme or core files directly is one of the classic mistakes in Magento theme development, because the changes can be wiped out by the next update.
Step 6: Build Layouts, Templates and Styles
This is the core of the work. Magento separates a page into several layers, and developers work across them:
- Layout XML defines which blocks appear on a page and where
- PHTML templates hold the HTML output for each block
- CSS, LESS or Tailwind control the styling
- JavaScript handles interactive elements like menus, sliders and the cart drawer
Developers also make sure the theme is responsive, so it adapts from phone to desktop, and that it handles states like out-of-stock, empty cart and form errors. At Team Magento, we build these edge cases into the first draft, because they’re the screens shoppers actually meet when something goes wrong.
Step 7: Integrate Extensions and Custom Features
Your store probably relies on third-party extensions for payments, reviews, search, shipping and more. Each one may output its own HTML and styles, which can clash with a new theme.
Developers check every extension against the new design and adjust templates or styling where needed. If you use Hyvä, some extensions require compatibility modules, so it’s worth listing all of them early. Any custom features, such as a product configurator or a special checkout step, are built and connected at this stage.
Step 8: Optimise Performance, SEO and Accessibility
A theme that looks great but loads slowly will cost you sales and search visibility. Good Magento theme development includes:
- Compressing and lazy-loading images
- Reducing unused CSS and JavaScript
- Using efficient fonts
- Keeping a clean heading structure (one H1, logical H2 and H3 levels)
- Using semantic HTML and proper alt text
- Checking colour contrast and keyboard navigation
- Testing Core Web Vitals with tools like Lighthouse and PageSpeed Insights
Doing this during the build is far easier than fixing it after launch.
Step 9: Testing
Before launch, the theme should be tested thoroughly:
- Cross-browser: Chrome, Safari, Firefox and Edge
- Cross-device: real phones and tablets, not just resized desktop windows
- Functional: add to cart, coupons, checkout, login, account pages
- Extension checks: every installed extension in its new design
- Performance and accessibility audits
- User acceptance testing, where you review it on staging and give feedback
Keep feedback organised in one shared list. Scattered emails and chat messages are how requests get lost.
Step 10: Deployment and Launch
When everything passes, the theme goes live. In practice, this involves deploying the code, running Magento’s upgrade and static content commands, clearing caches, and applying the theme in the admin panel under the design configuration settings.
Good teams schedule launches for quiet periods, keep a rollback plan ready and check key pages immediately afterward. Don’t launch on the eve of a big sale.
Step 11: Post-Launch Support and Improvement
Launch isn’t the finish line. Real customers find issues no test caught, and Magento releases updates that may affect your theme. A sensible plan includes a bug-fix window, monitoring of speed and errors, and periodic reviews of analytics to see where shoppers drop off.
How Long Does It Take?
It varies too much for a single number. A lightly customised ready-made theme might take a few weeks, while a fully custom design with complex features can take a few months. Scope, the number of templates, extensions and how quickly you approve designs all play a part. Ask any provider for a phased timeline, not just a launch date.
Frequently Asked Questions
Q1. What is Magento theme development?
It’s the process of designing and building the front-end look and behaviour of a Magento store, including layouts, templates, styles and scripts, so the storefront matches your brand and works well on every device.
Q2. How long does Magento theme development take?
A customised ready-made theme can take a few weeks, while a fully custom theme may take a few months. Scope, extensions and approval speed are the main factors.
Q3. How much does Magento theme development cost?
Cost depends on design complexity, the number of templates, integrations and testing. Request a written estimate that breaks the work into phases.
Q4. What is a child theme in Magento?
A child theme inherits everything from a parent theme and overrides only selected files. This keeps your customisations separate, so parent-theme updates don’t overwrite them.
Q5. Should I choose a custom or ready-made Magento theme?
Ready-made themes suit smaller budgets and standard needs. Custom themes suit unique branding, complex features and long-term flexibility.
Q6. What is the difference between Luma and Hyvä?
Luma is Magento’s default front-end structure. Hyvä is a lighter alternative built on Tailwind CSS and Alpine.js that many stores adopt for better speed, though some extensions need compatibility modules.
Q7. Will a new theme affect my SEO?
It can. A well-built theme improves speed and structure, while a poor one can hurt rankings through slow loading or broken headings. Plan redirects and keep your URLs consistent.
Q8. Can I change my Magento theme without losing data?
Yes. Products, customers and orders are stored in Magento, not in the theme. Still, back up first and test on a staging site before going live.
Final Thoughts
Magento theme development is more than picking a nice design. It’s a sequence of decisions, from choosing the right approach to testing and post-launch care, and each one affects speed, stability and sales. Understanding the steps puts you in control of the project and makes it easier to judge a proposal.
If you’d like a second opinion on a theme plan or your current front end, Team Magento is happy to review it and explain what we find in plain language.